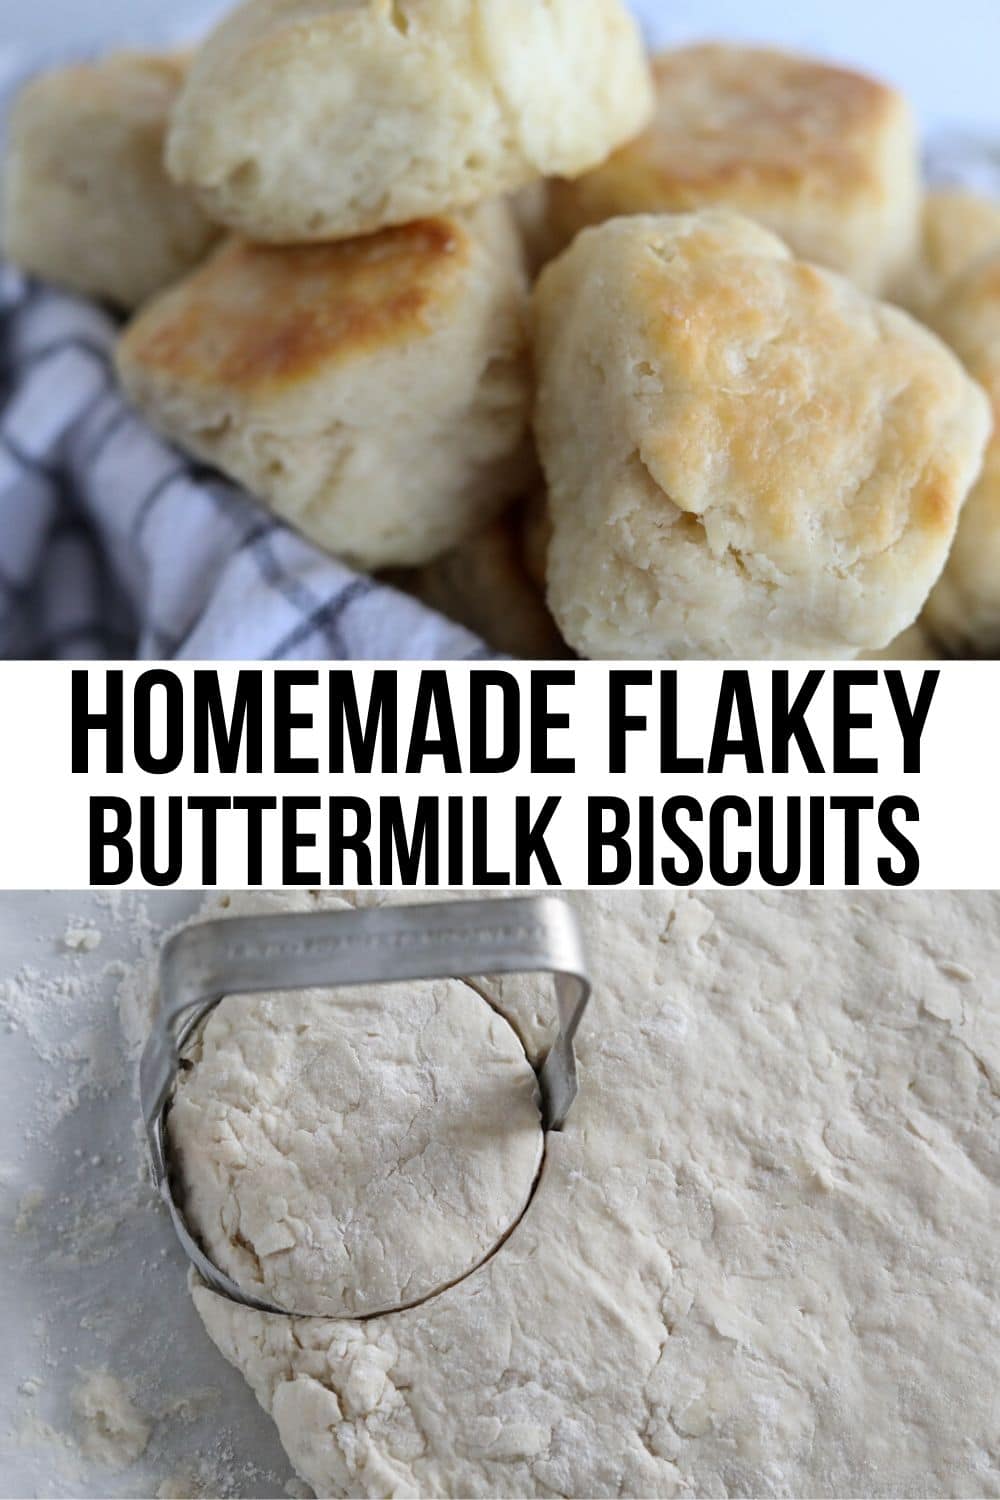
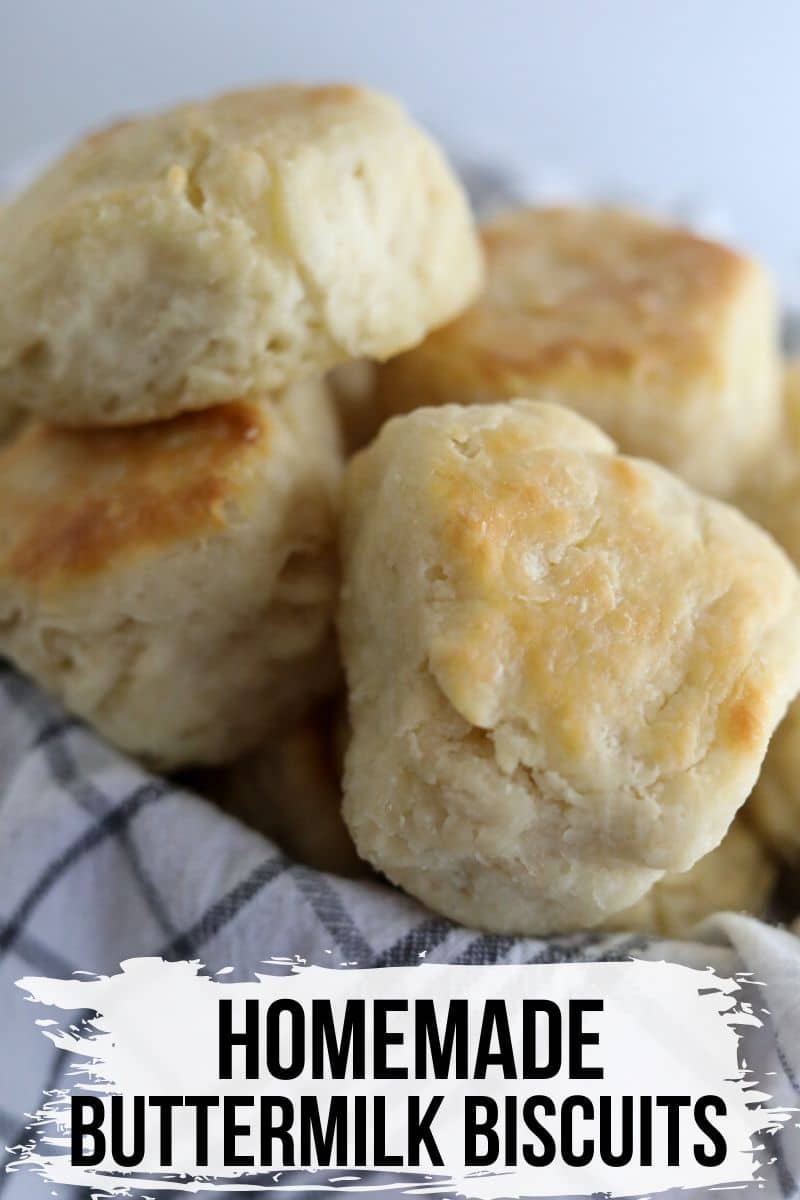
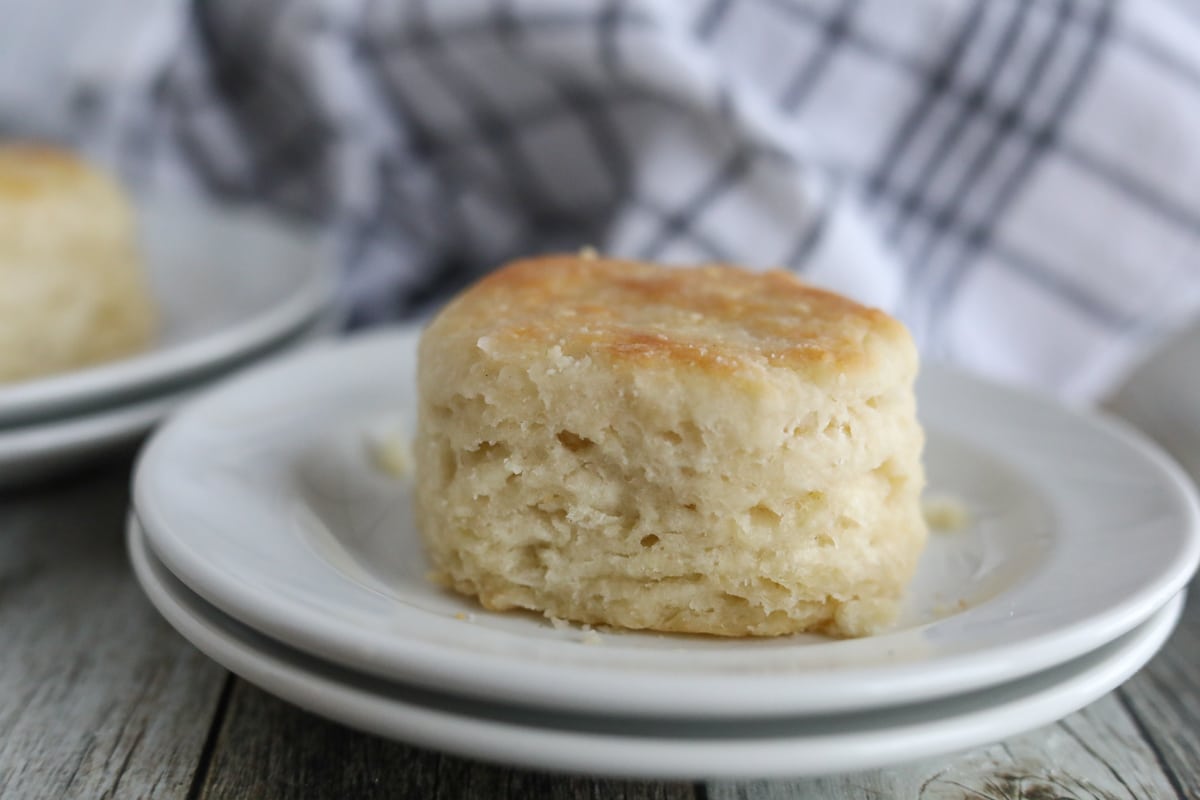
This way Homemade Biscuits from Scratch Recipe makes the most delicious flakey biscuits! All you need is THREE ingredients and 15 minutes to go from oven to table! You are going to love this simple, quick bread recipe.
How to make buttermilk biscuits from scratch
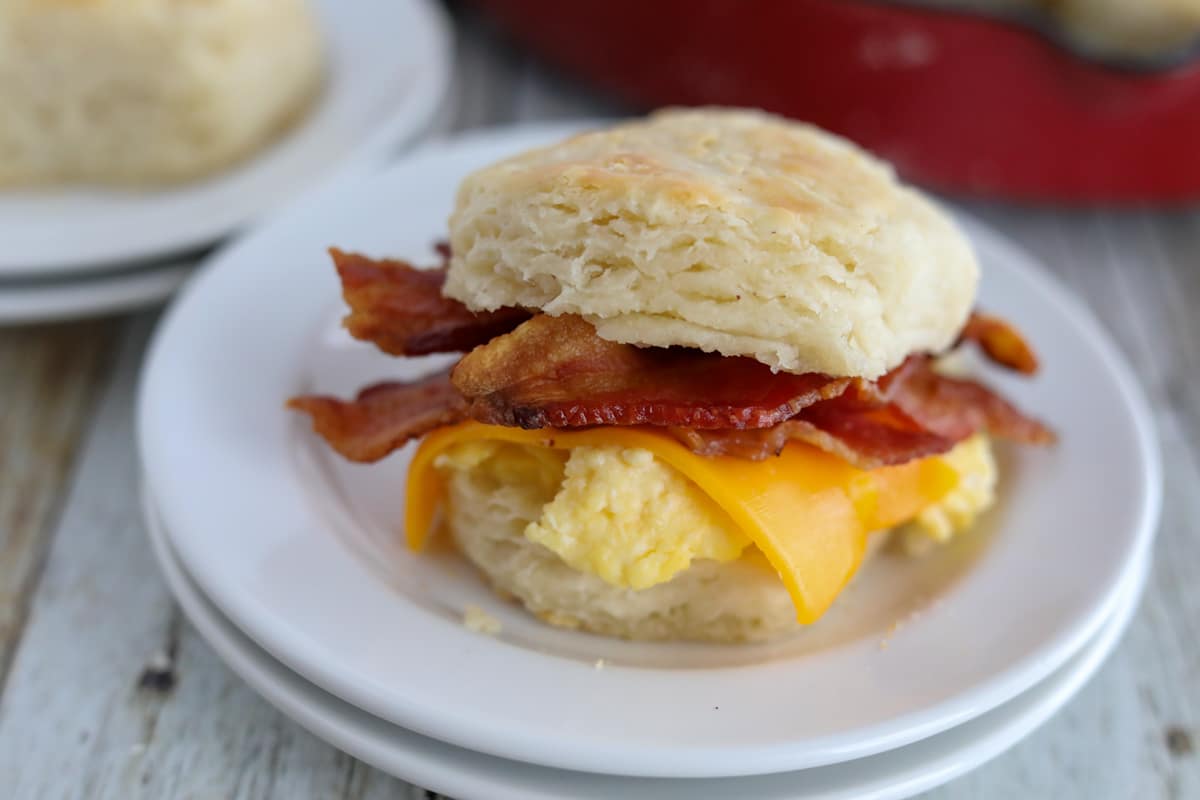
Biscuits are the ultimate comfort food! You can eat them with fried chicken for dinner, soup for lunch, or gravy for breakfast! The combinations are endless!
Making biscuits from scratch may seem like an intimidating task, but this recipe is so simple, even if you have never made biscuits before! This step-by-step recipe tutorial is going to show you exactly how to make them like a southern pro.
Main ingredients you’ll need:
- butter- It will give biscuits a light and airy texture and delicious flavor!
- self-rising flour- This will act as the leavening agent so that the biscuits are tall and fluffy, and give them a tender texture.
- buttermilk- Giving them a slightly tangy flavor, the acid will react with the self-rising flour so that the biscuits are extra tall.
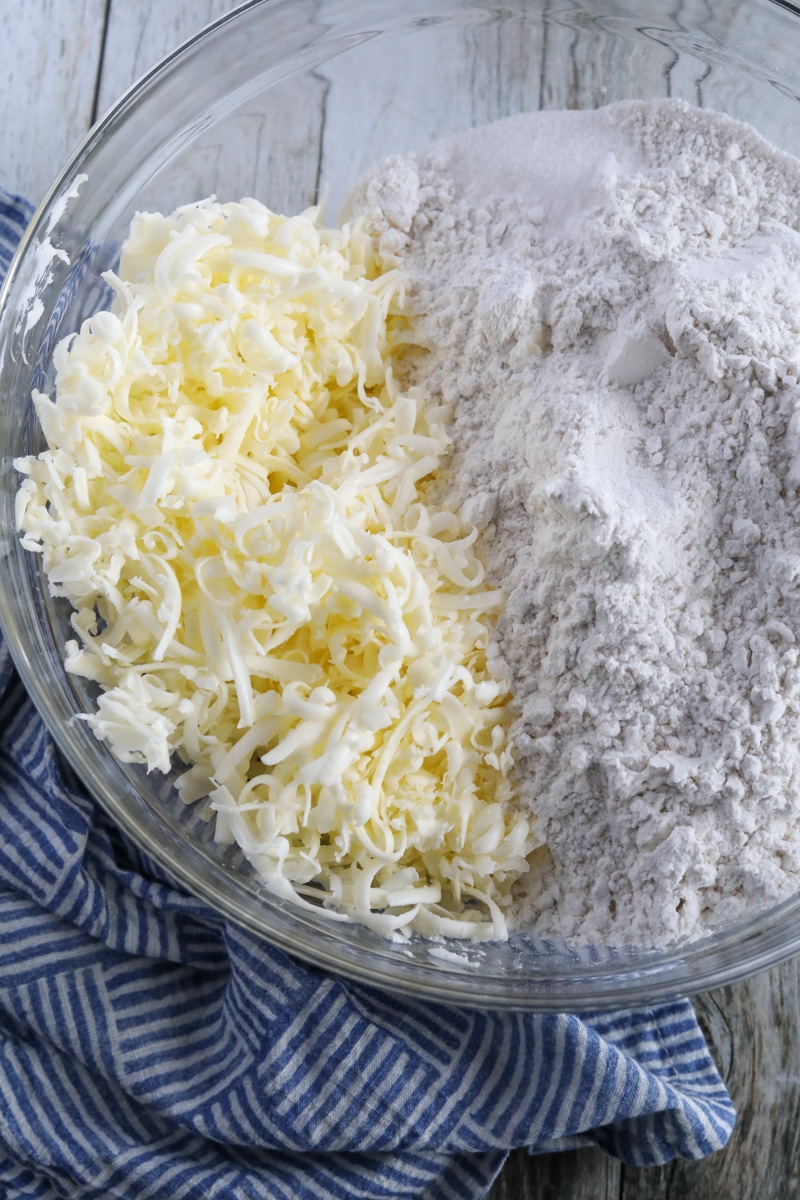
Step 1: Freeze the butter, then use the large holes on the cheese grater to grate. Add self-rising flour. Your butter must stay cold throughout this process, which means you need to handle it as little as possible. You can also refrigerate the flour so that the dough is as cold as possible.
If the butter begins to soften while you are grating, that is ok. After you mix the butter and flour, you will place it in the fridge. Although you don’t have to worry about it becoming too soft, you do not want it to melt.
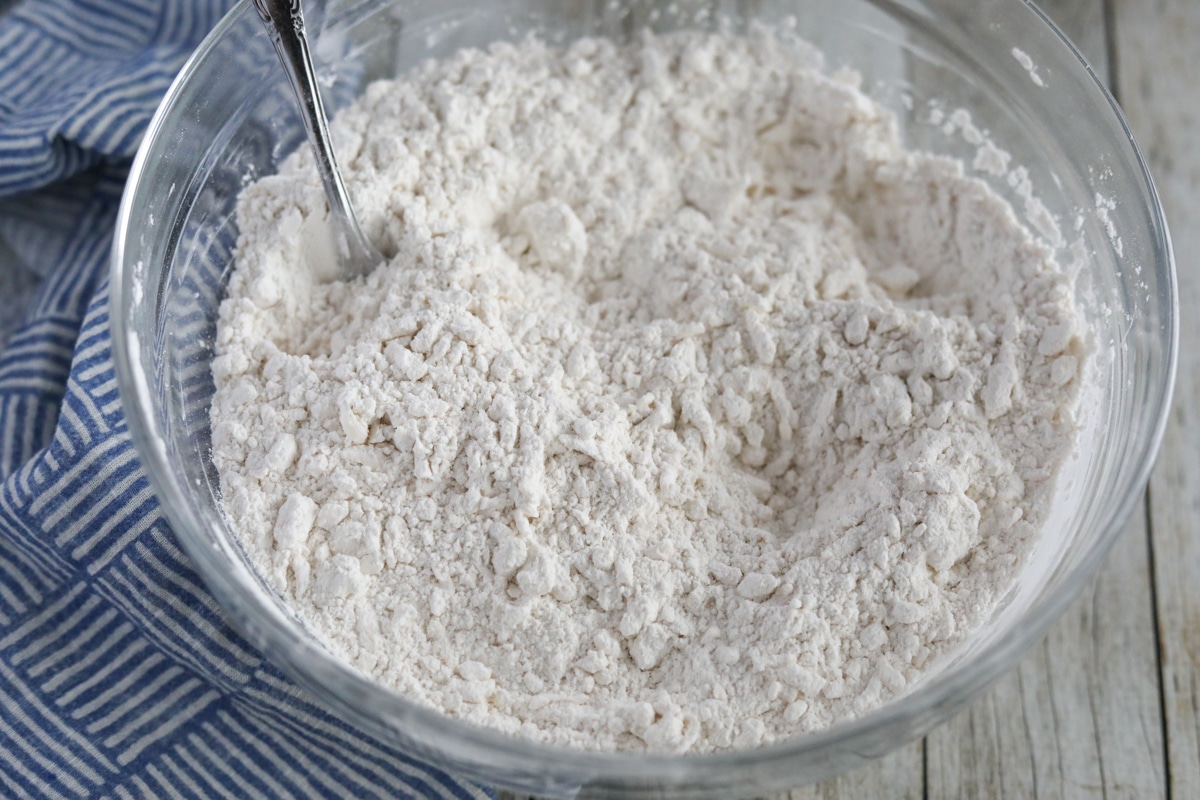
Step 2: Use a metal fork to cut the butter into the flour. To do this, use the fork to mix the flour into the butter until it forms pea-sized crumbs. Once combined, place the mixture back in the fridge for 10 minutes.
If the butter begins to melt, then it may need to stay in the fridge bit longer. You can also put the mixture in the freezer if you are concerned about the butter firming back up.
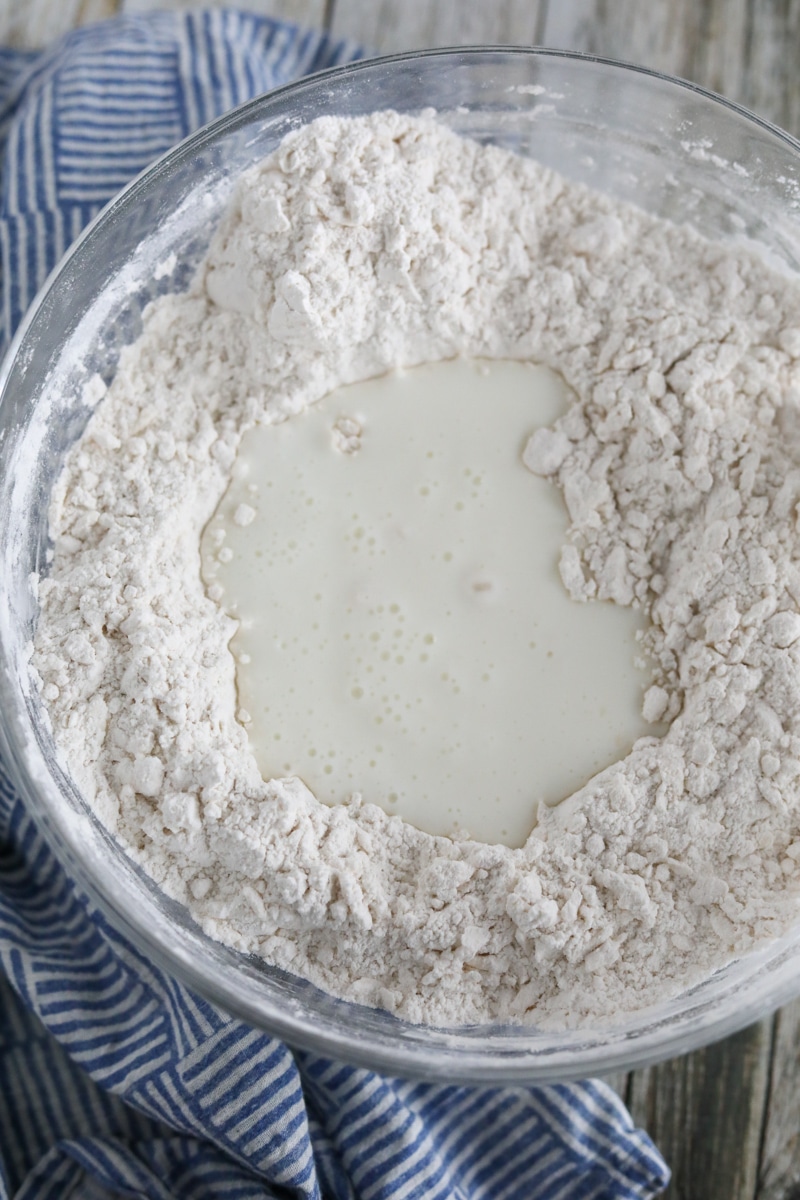
Step 3: Stir the batter so that it is around the sides of the bowl, creating a well in the middle. Pour in the COLD buttermilk.
If you do not have buttermilk on hand, you can still make these homemade biscuits from scratch! For every 1 cup of milk, add 1 tbsp of lemon juice or vinegar to make a buttermilk substitute. Allow the buttermilk mixture to sit for 10 minutes to thicken up before adding to the rest of the ingredients.
Next, stir until the ingredients are barely combined. The more you mix the batter, the gluten will begin to develop, and the tougher and smaller your biscuits will be. Whenever you finish mixing, you still want to see little clumps of butter and sprinkles of flour.
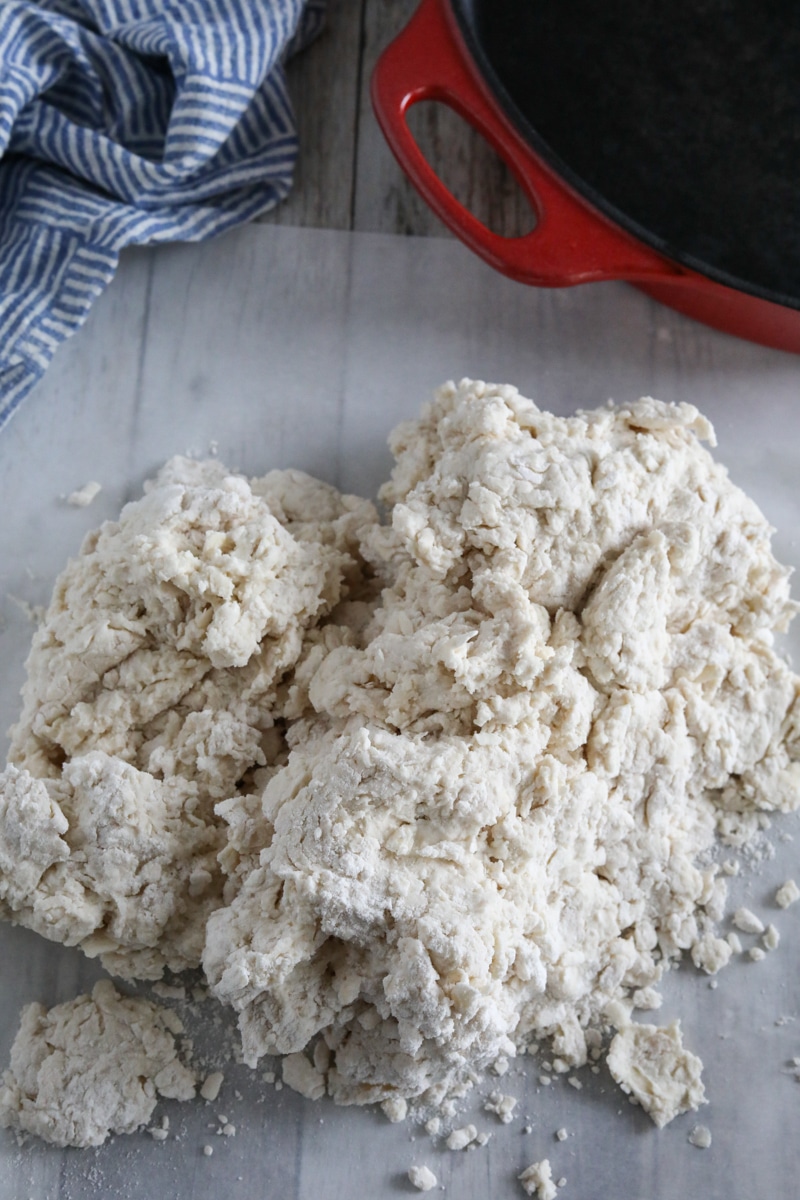
Step 4: Once on the counter, pat the dough into a rectangle. Next, fold the dough in half on top of itself. To do this, fold one side of the dough onto the other side, then reshape it into a rectangle. You can also fold one side of the dough to the middle and do the same with the other side, then reshape it. Repeat this process 2-3 times.

Step 5: Repeat the process of folding over the dough 2-3 times. Then, use a lightly floured rolling pin to gently roll the dough out to 1/2 in thick. If the dough is too sticky to roll, either sprinkle more flour on the rolling pin or the dough.
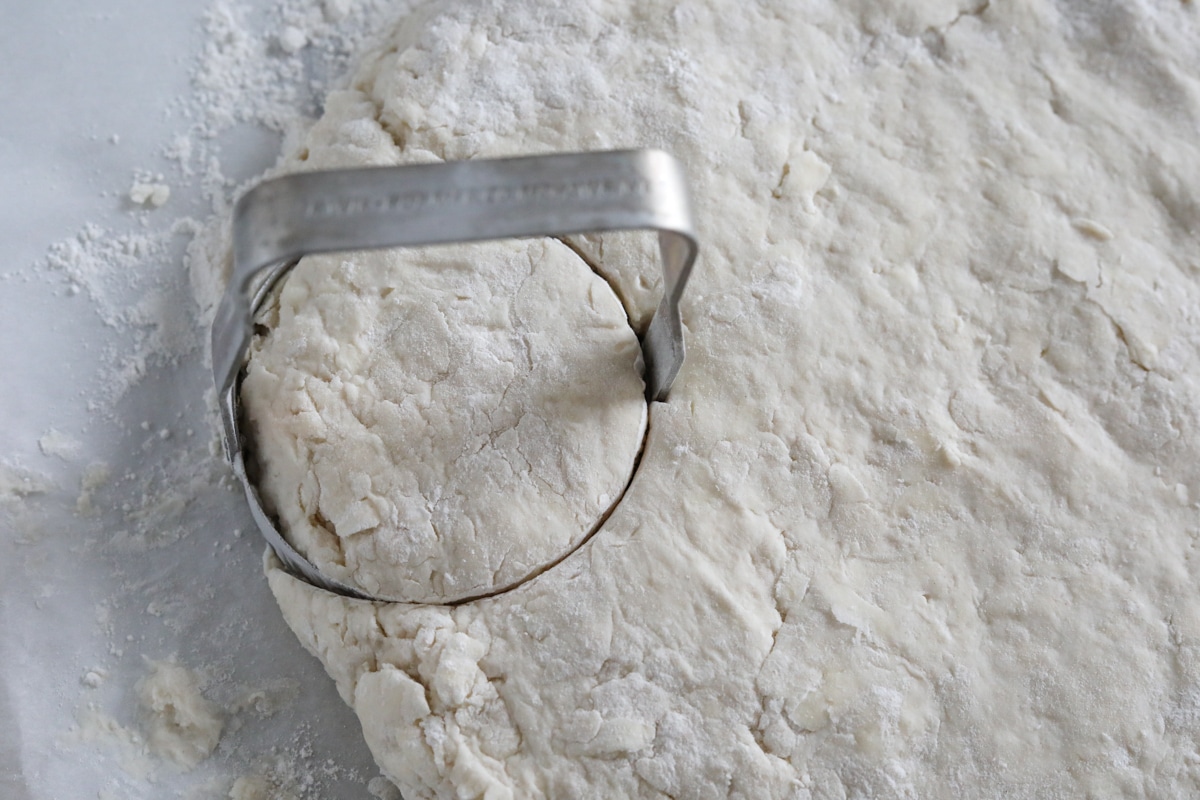
Step 6: Once you roll out the biscuit dough, cut it with a biscuit cutter. Do not twist the biscuit cutter! If you do, the sides will be sealed off, leaving you with a biscuit that will not rise properly or have flakey layers.
If needed, flour the leftover scraps and roll them out so that you can make as many buttermilk biscuits as possible. The biscuits made from the leftover scraps will not be as soft as the first batch since you had to handle the dough more. Don’t worry; they will still be delicious.
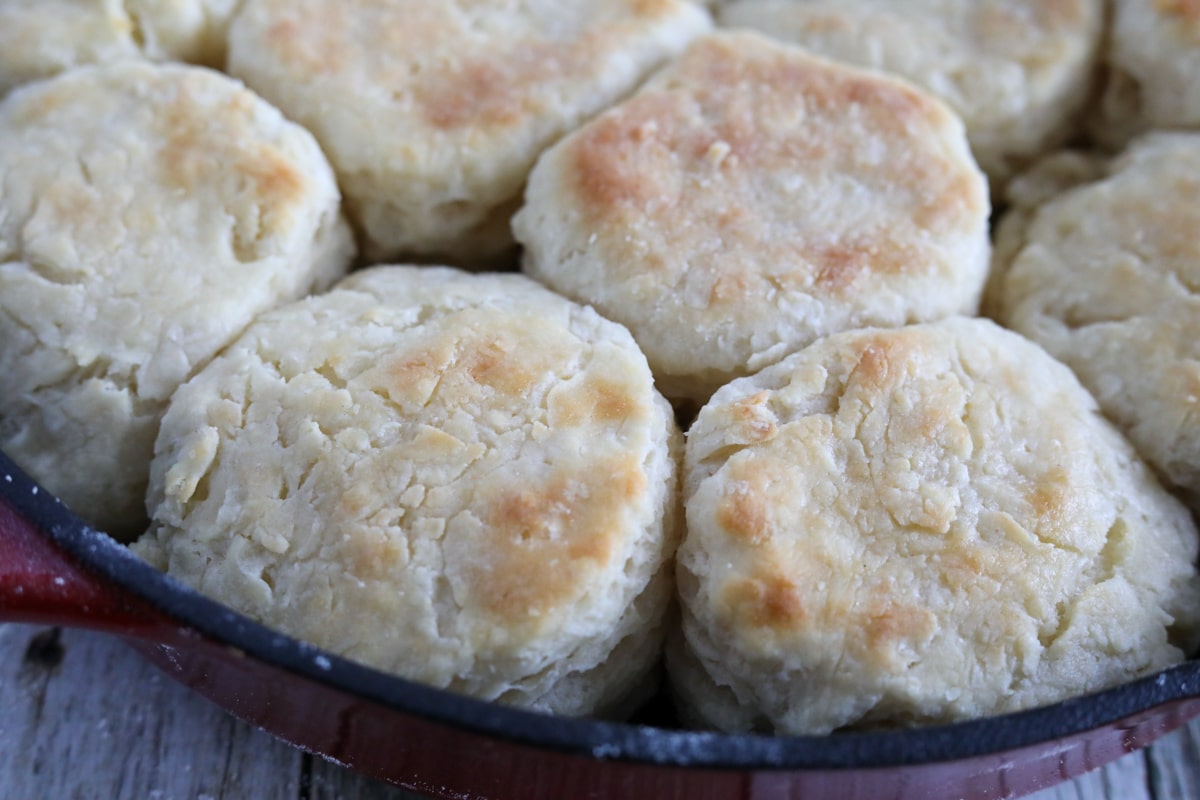 Step 7: Put the biscuits in a castiron skillet (or another baking pan). When placing the biscuits in the pan, make sure that the sides are touching. This will cause them to rise upward instead of spreading out while cooking.
Melt the butter in a bowl and use half of it to brush the top of the biscuits. Bake on 475 degrees for 15 minutes, or until the tops are lightly golden brown. Once taken out of the oven, brush them with the rest of the melted butter. Enjoy!
how to store biscuits Made from scratch
They can be stored at room temperature for 1-2 days, but they will dry out and become hard if they are not stored in an airtight container. You can also keep biscuits in an airtight container in the fridge for up to a week.
You can make a double batch and store in a freezer-friendly container in the freezer for 2-3 months. The biscuits can either be frozen before they have been baked or fully cooked. If they have not been baked yet, allow them to thaw then follow the directions in the recipe card.
To rewarm cooked biscuits, place them in the fridge overnight. Next, add some melted butter to the top, then place them in the oven at 350 degrees until they are warmed all the way through.
commonly asked biscuit questions
What are the biscuits?
In North America, biscuits are a tall soft, quick bread. Since they are not made with yeast, biscuits do not have to sit and rise before baking. Instead, a leavening agent is typically included, such as salt, baking powder, or self-rising flour. They are similar to dinner rolls but are shaped differently and are a denser type of bread.
Are there different methods to cut the butter into flour?
- food processor- You can place the cold butter and flour into a food processor and pulse it until it creates a crumbly pea-sized texture. However, using this method may over mix the flour and butter, leaving you with creamed butter instead of a crumbly mix.
- chop the butter into small pieces- Chop the chilled butter into small cubes, then use a fork to mix in with the flour.
- pastry cutter- Many use a pastry cutter to cut butter into flour, once you have chopped or grated the butter into small pieces add in the flour. Use a pastry cutter to combine until you get a small breadcrumb-like texture.
In my opinion, grating the butter is the best method for cutting butter into the flour. It is quick, easy, and your butter is less likely to melt because you handle it less.
Why are my biscuits crumbly?
If you cut the butter too small, then your biscuits will end up more crumbly. That is why I grate mine on the large holes on the grater. If they do turn out crumbly, it won’t affect the taste, just the presentation. 🙂
Why didn’t they rise correctly?
- if the butter was too warm- Cold butter creates air pockets that help the biscuit rise. If your butter is not cold enough, then those air pockets will not be created, so they will not rise as tall.
- the oven wasn’t warm enough- Biscuits have to be cooked hot and fast. A hot oven produces steam encouraging them to rise as tall as possible. So, it is VERY important you preheat the oven before baking.
- using the wrong flour- All-purpose flour requires leavening agents, while self-rising already includes them, so if you use the wrong flour, then your biscuits will turn out like hockey pucks.
- you twisted the biscuit cutter- Twisting the biscuit cutter seals of the edges, so they will end up rising lopsided or not at all.
Variations to this recipe
- cheddar cheese and chives- Add some cheese and chives to the dough for the perfect savory buttermilk biscuit.
- fresh herbs- Herbs such as chives, rosemary, and cracked black pepper will take this biscuit to the next level!
- warm honey- Adding a little extra sweetness brings these biscuits over the top!
other breakfast recipes
Best Homemade Blueberry Pancakes
Life-Changing Soft Scrambled Eggs
Waffle Recipe with Self-Rising Flour
How to Cook Bacon in the Microwave
buttermilk biscuits from scratch Recipe
Buttermilk Biscuits from Scratch
Ingredients
- 2 sticks butter frozen
- 5 cups self-rising flour
- 2 cups + 2 tbs cold buttermilk
Topping
- 3 tbs butter melted
Instructions
- Make sure to preview the detailed step-by-step instructions in the blog post with images before beginning this recipe for additional tips. Preheat the oven to 475°, and place butter in the freezer.
- Before grating the butter, make sure that it is VERY cold so that it will make the biscuits rise as tall as possible. Using the side with the large holes, grate the butter into a large bowl, then add flour.
- Cut the butter into the flour by using a metal fork and pressing it against the butter and flour until pea-sized crumbs are formed. Put the mixture back in the fridge for 10 minutes.
- Push the mixture to the edge of the bowl creating a well, then pour in the cold buttermilk.
- Stir ingredients until they are barely combined. You do not want the texture of the dough to be like cookie dough. Instead, it should be very crumbly, and small chunks of butter and flour should still be visible.
- Flour the surface you are going to roll your dough out on.
- Pat the dough into a rectangle approximately 1 inch thick. Fold the dough over itself several times to create flakey layers.
- Use a floured rolling pin or rolling glass to gently roll the dough out to approximately 1/2 an inch thick. Next, cut with a biscuit cutter. Don't twist the biscuit cutter because it will seal off the edges, causing the biscuit to rise lopsidedly. Add flour when needed and reroll the scarps to make the most biscuits possible.
- Brush the tops with 1/2 half the melted butter, then place them in a 12in cast iron skillet (or another pan). When placing the biscuits in the pan, make sure the sides are touching so that they rise as tall as possible.
- Bake for 15 minutes or until the tops are lightly browned. Remove from the oven and brush the tops with the rest of the melted butter. Enjoy!