If you’ve ever looked at the exterior of your stucco home and thought, “This could use a serious update,” you’re not alone! That’s exactly how we felt when we bought our 90s stucco house. It had good bones, but the exterior was outdated and desperately needed a refresh. We wanted to modernize it but the idea felt overwhelming (and expensive!). Check out our simple stucco home makeover that transformed our curb appeal.

After tons of research and talking to professionals, we realized we didn’t have to completely start over to get the look we wanted. Instead, we made a few simple but high-impact changes—removing outdated stucco trim, swapping out the front door, updating the landscaping, and picking the right paint color to completely transform the look. And let me tell you, the difference was incredible!
In this post, I’ll walk you through stucco home makeover—from planning and hiring the right people to all the little details that made a huge impact. I’ll include before and after photos so you can see just how much these updates changed our home’s curb appeal. If you’re thinking about a stucco house remodel but aren’t sure where to start, I’ve got you covered! Let’s go.
Our Stucco Home Before: What Needed Updating
When we first moved in, we knew the house had potential, but the exterior needed some serious TLC. Here were the biggest issues we wanted to address:
- Outdated stucco trim: The decorative trim made the house look older and more ornate than we wanted.
- Faded, patchy stucco paint: Years of sun exposure left the gray stucco looking dull and tired.
- Old, inefficient windows: The original windows were drafty, and the trim around them was in bad shape.
- Rotting soffits and fascia: Neglect and weather damage had left parts of the wood trim crumbling.
- Overgrown, outdated landscaping: Large, unkempt bushes were hiding the house’s best features instead of enhancing them.
- A front door that blended in: It lacked contrast and curb appeal, making the entryway feel uninviting.

The Planning Phase: What We Considered Before Updating Our Stucco Home
Before diving into the makeover, we spent lots of time researching and planning. We finally decided to hire a designer to help finalize some of our decisions. Here are some key things we chose:
1. Choosing the Right Paint Colors
We wanted a modern, fresh look, so we researched color combinations that work well with stucco. We chose a warm creamy white for the stucco and a deep brownish gray for the trim which added a bold contrast.
2. Upgrading the Windows
Replacing the original windows was one of the biggest (and best) investments. We opted for energy-efficient white-trimmed windows, which not only look sleek but also improve insulation.
3. Deciding on Trim and Architectural Details
Instead of adding more decorative elements, we wanted to remove the outdated stucco trim for a cleaner, more contemporary feel and add some natural wood elements for warmth.
4. Repairing Soffits and Fascia
Neglecting these areas can lead to major structural issues. We had to address rotting wood and repaint it in our trim color to match.
5. Modernizing Landscaping
The bushes and trees were overgrown and unhelathy. A fresh look featuring a mix of modern and low-maintenace trees and shrubs would highlight the home’s architecture.
Our Stucco Home After: The Transformation
After making these updates, our home looks completely different—and we couldn’t be happier with the results!
Key Updates We Made:

✔ Modern Wooden Front Door: A bold entryway adds character. The nine-light solid maple door came from Southeastern Salvage custom door shop. We finished the door to contrast the other natural wooden features on the home.
- Step 1: Rust-Olium Stain/Polyurethane – American Walnut
- Step 2 – MiniWax – Clear Polyurethane


✔ Updated Landscaping: Removed old landscaping including 13 trees and chose plants, trees, and new pine straw to enhance curb appeal.

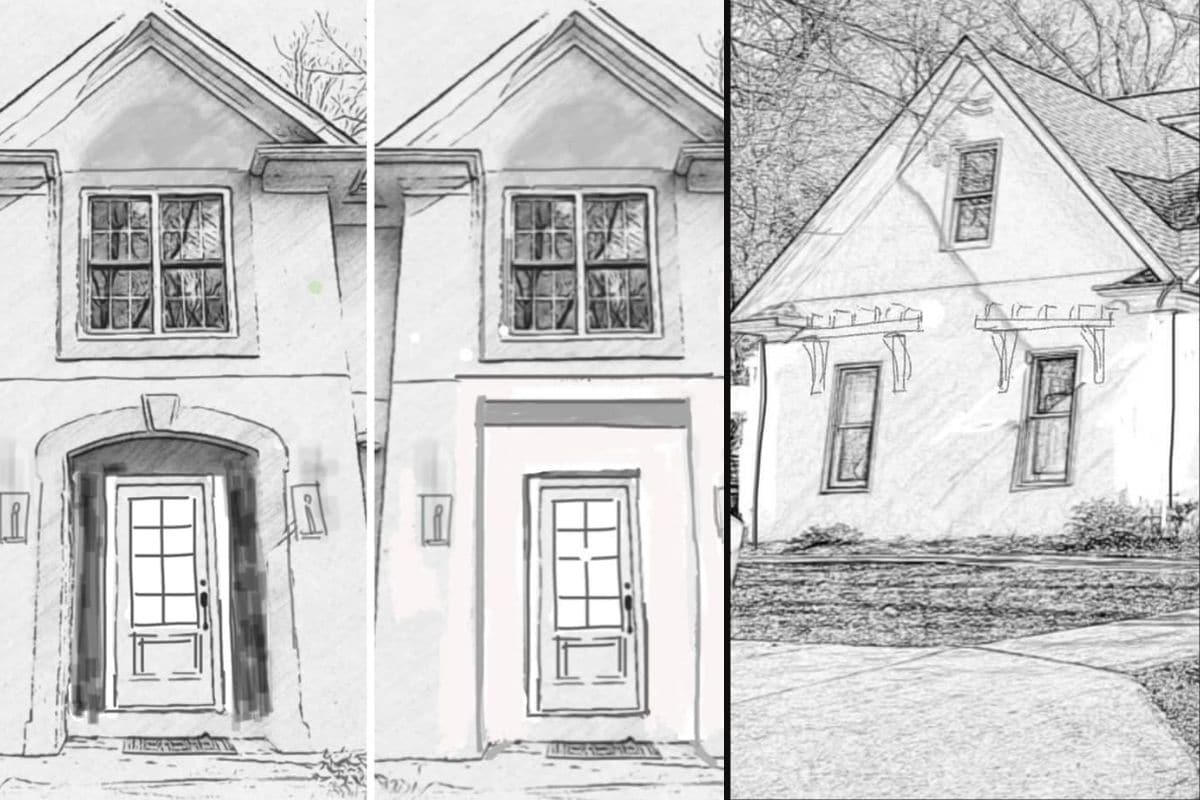
✔ Removed Decorative Moulding: A clean, minimalist look makes the house feel more contemporary.
Tip: When removing stucco mouldings, you have to resurface the surrounding area from joint line to joint line. Patching will leave super visible lines. Be cautious If a contractor says otherwise! In our case, we refinished the entire front section to ensure a seamless, uniform look.

✔ New Windows: White vinyl trimmed, energy-efficient windows from Window World modernized the exterior.
Tip: We used windows with panes in the front for the curb appeal but opted for no panes in on the back of the house for cost and not having an obstructed view.
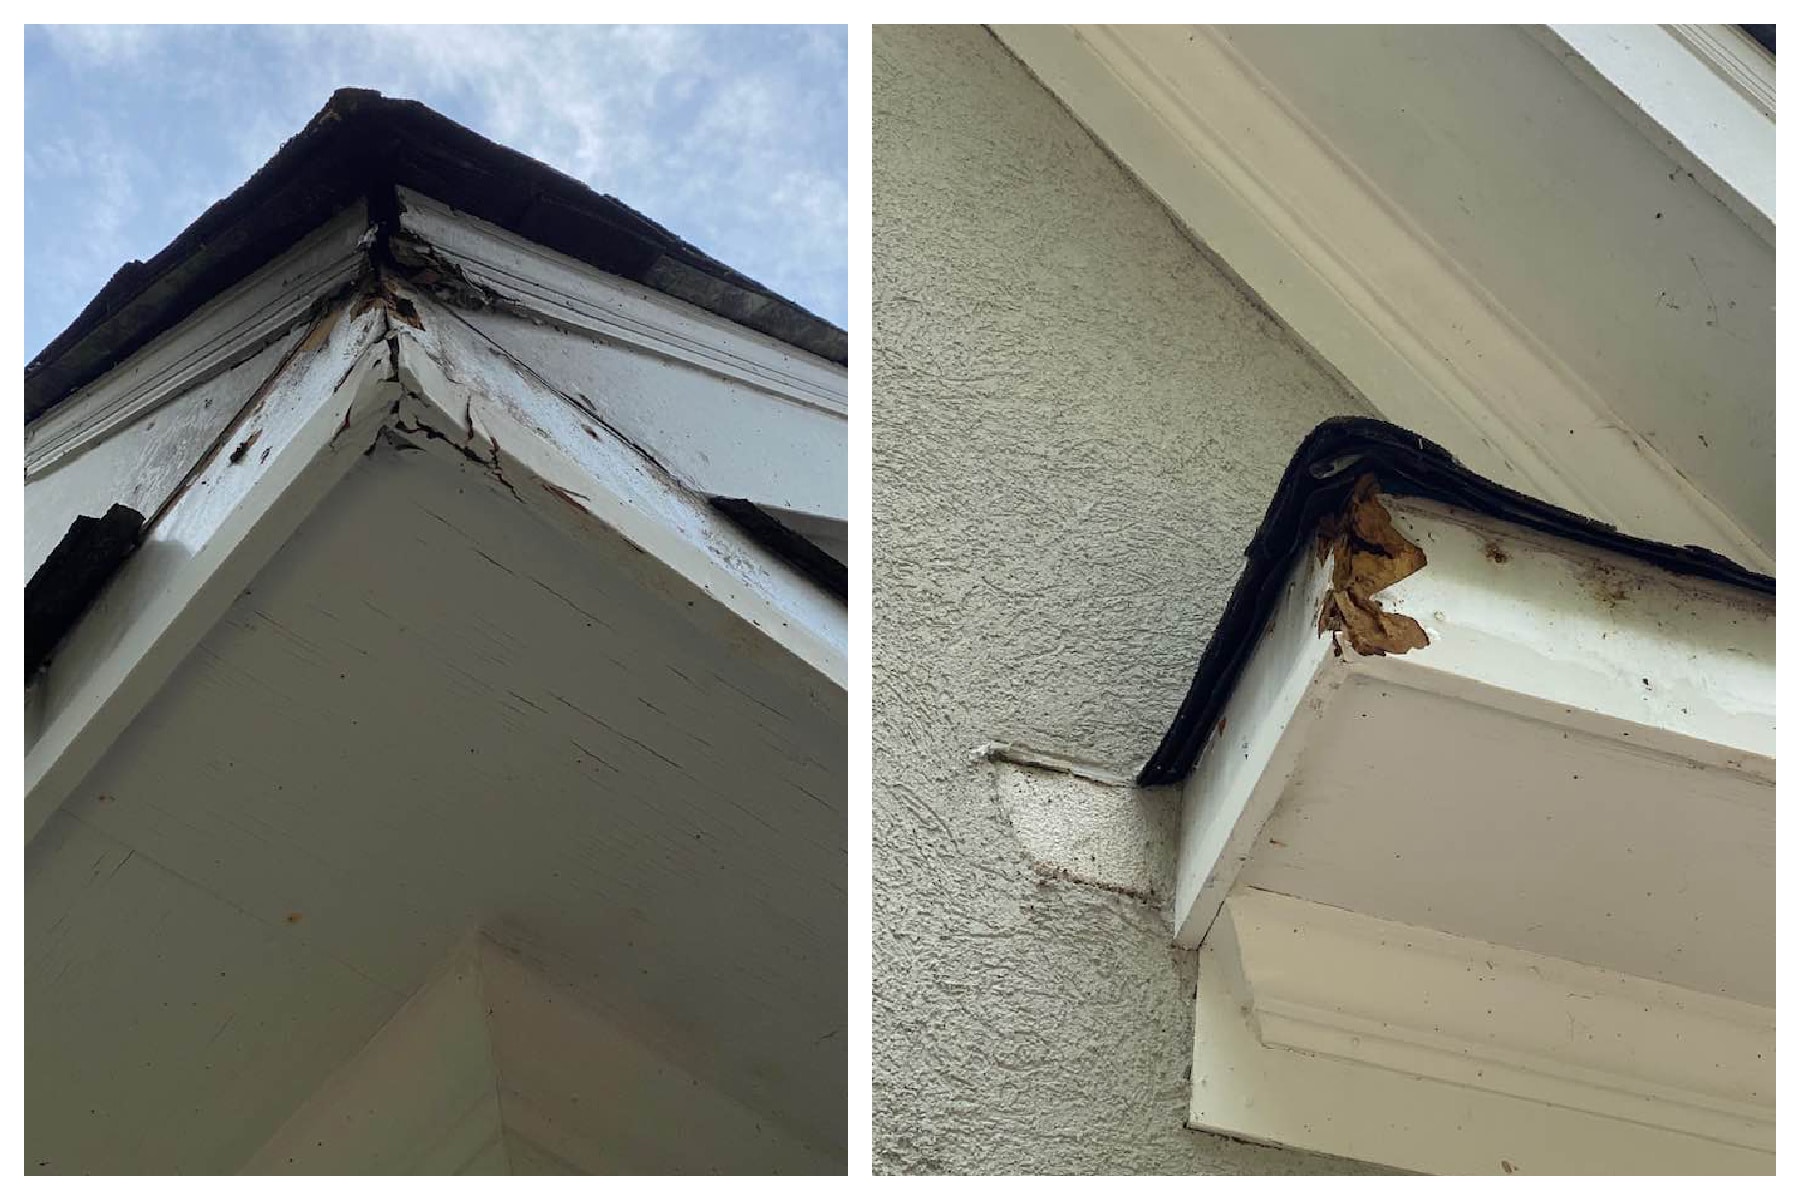
✔ Repaired Fascia and Soffit: Years of neglect was visible and some was hidden by the old gutters. We replaced the damaged fascia and soffit and added new bronze colored gutters.

✔ Fresh Paint: The right color choices made the biggest impact.
- Main Color – Sherwin Williams Classic Light Buff 0050
- Trim, Garage Doors, and Decks – Sherwin Williams Urbane Bronze SW 7048
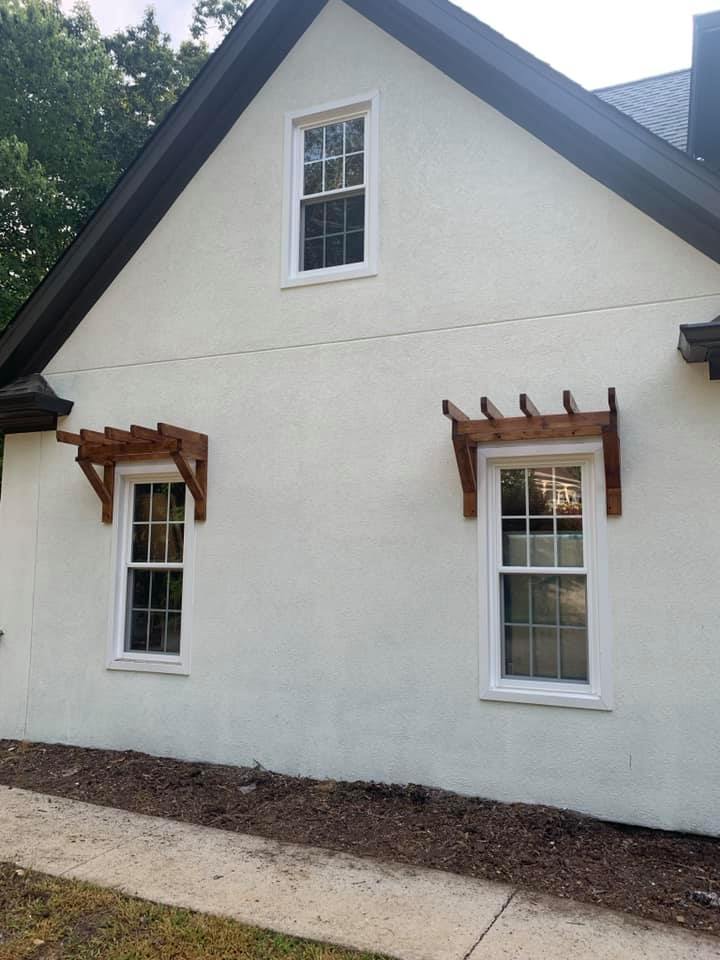
✔ Add Trellis Sheds: The wooden pergolas were built using spruce wood and added dimension and character to the house.
- Step 1: Rust-Olium Stain/Polyurethane – American Walnut
- Step 2 – MiniWax – Clear Polyurethane
For the complete step by step instructions check out Window Pergola Ideas: A Quick Guide to Get Your Project Started

✔ Build & Install Beam Above Front Door & New Light Fixture: We went with a faux beam made from pine wood. The shade of the beam matches the trellis sheds and gives a nice contrast to the maple front door. The black rectangular lights give a more modern and sleek appearance.
- Step 1: Rust-Olium Stain/Polyurethane – American Walnut
- Step 2 – MiniWax – Clear Polyurethane
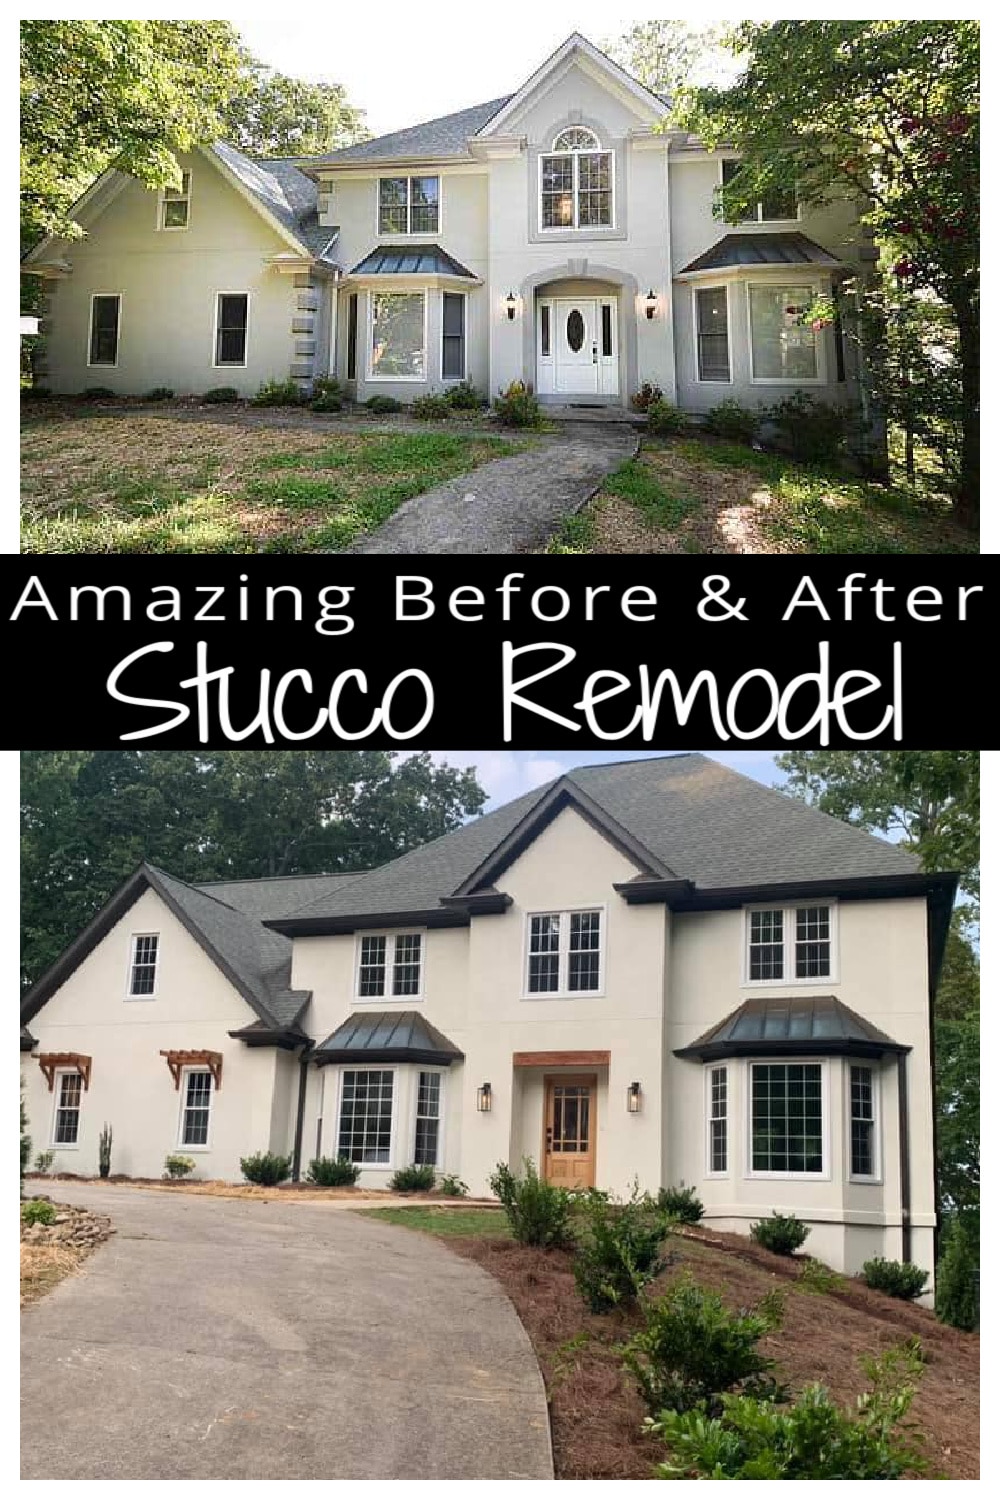
Before & After: Our Stucco Home Transformation
Looking back at where we started, it’s hard to believe this is the same house! What once felt outdated, tired, and blah now looks fresh, modern, and so much more inviting.
The Before: A Home Stuck in the ’90s
The bottom line…our home hadn’t been updated since it was built in 1992. We had a vision for it but this is what we were up against:
- Gray stucco that had seen better days
- Outdated decorative moulding that made the house feel overly fancy
- A stained glass front door that blended in instead of standing out
- Overgrown landscaping hiding the home
- Windows that were both outdated and inefficient
- Soffits and fascia in need of desperate repair
The After: A Modern, Welcoming Exterior
With a few major and minor changes—contrasting paint choices, modern accents, and small but impactful upgrades—we completely transformed the look of our home. Now, the outside feels like a brand-new space.
- Bold paint contrast made the stucco look fresh and modern
- Updated the front door for a sleek, inviting entryway
- Replaced old windows for a stylish and energy-efficient upgrade
- Removed outdated trim to create a cleaner, more contemporary look
- Added natural wood elements for warmth and depth
- Refreshed the landscaping for better curb appeal
- Added modern lighting for a polished finish
- Repaired soffits and fascia to protect and enhance the home
- Replaced worn out gutters with new bronze gutters

What We Learned (So You Don’t Make the Same Mistakes!)
1️⃣ Don’t Be Afraid to Make Bold Choices
We hesitated on the dark trim at first, but it ended up being one of the best decisions we made! Sometimes, stepping outside your comfort zone leads to the best and most drastic results.
2️⃣ Start with a Vision (But Be Flexible!)
Having a plan helped us stay focused, but we also had to adjust along the way. Some ideas looked better on paper than in real life and some weren’t drastic enough.
3️⃣ Small Details Make a Big Difference
At first, we thought only big updates would matter—but honestly, swapping the light fixtures and landscaping gave our home a completely new feel.
Final Thoughts: Was our stucco remodel Worth It?
Absolutely! Updating our stucco home’s exterior was one of the most rewarding projects we’ve tackled. With some research, strategic planning, and a mix of budget-friendly updates, we were able to create a modern, stylish home that we truly love.
Tip: If you’re considering a stucco home makeover, start with small changes and work your way up—every little update adds up!
Save this post for inspiration, and let me know if you have any questions about our process!