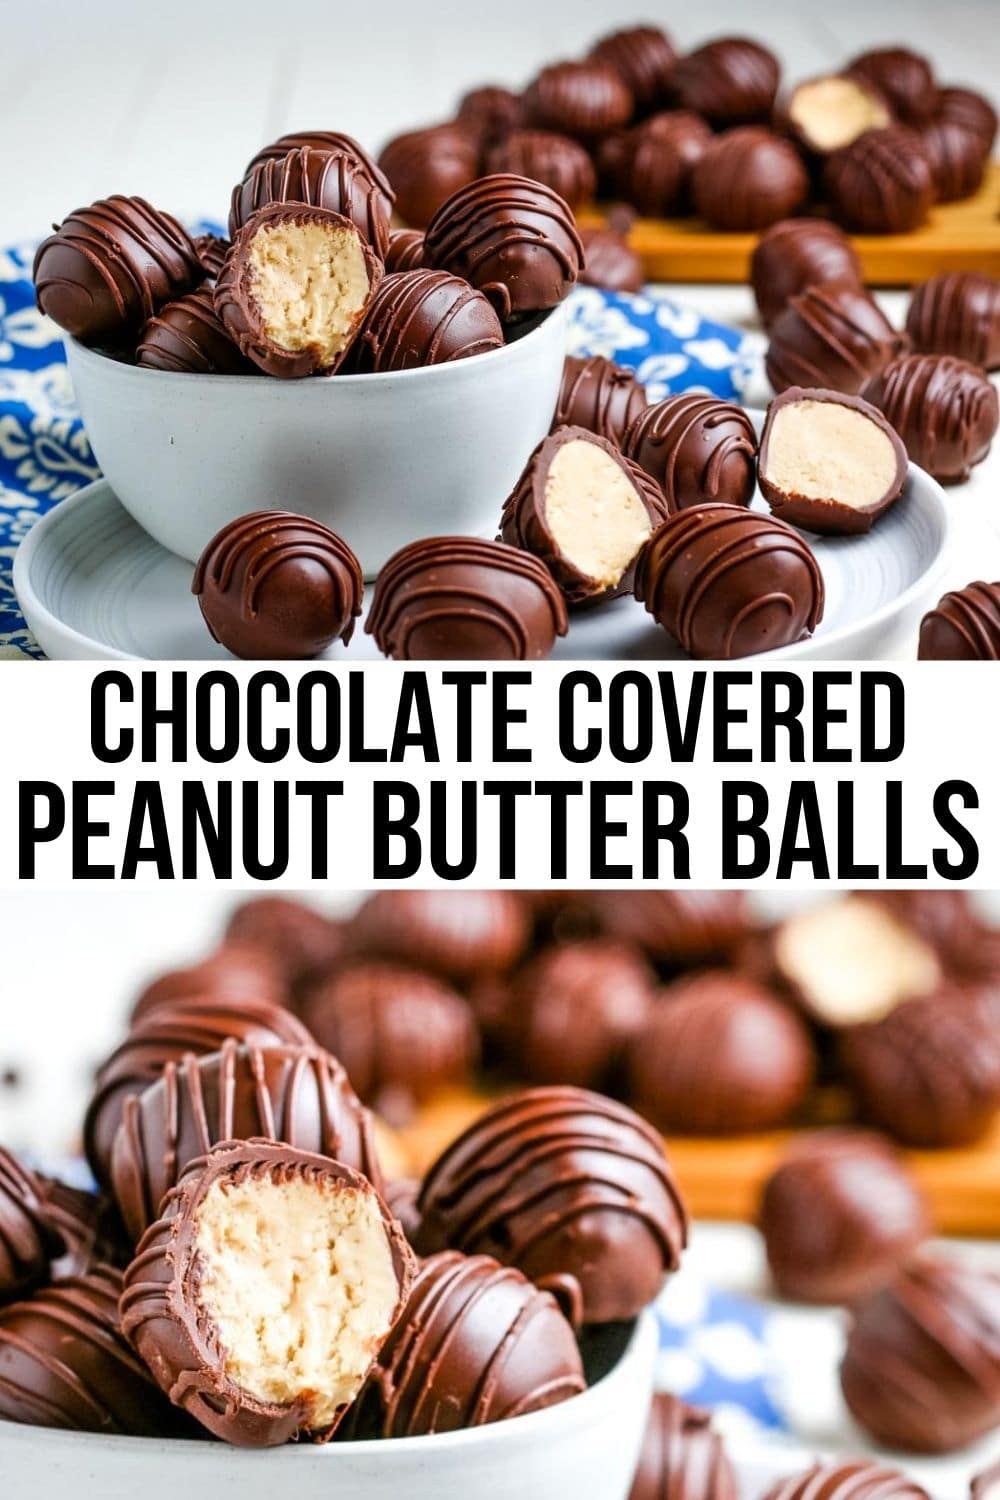
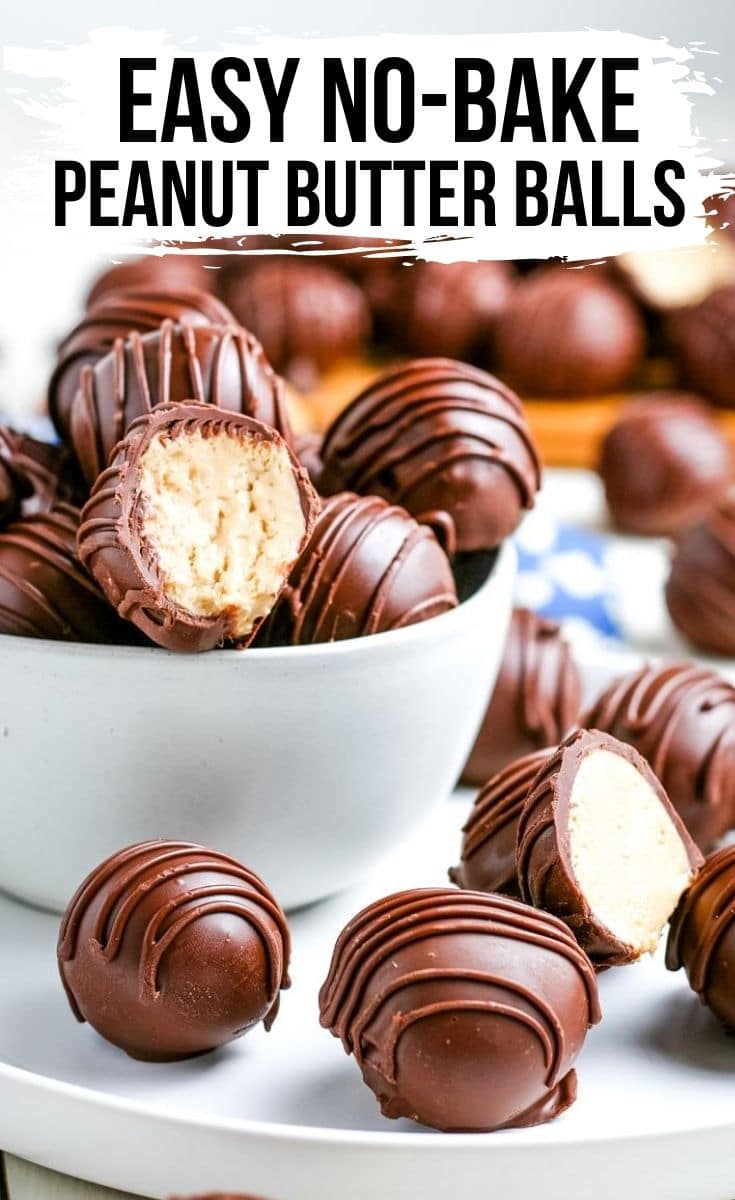
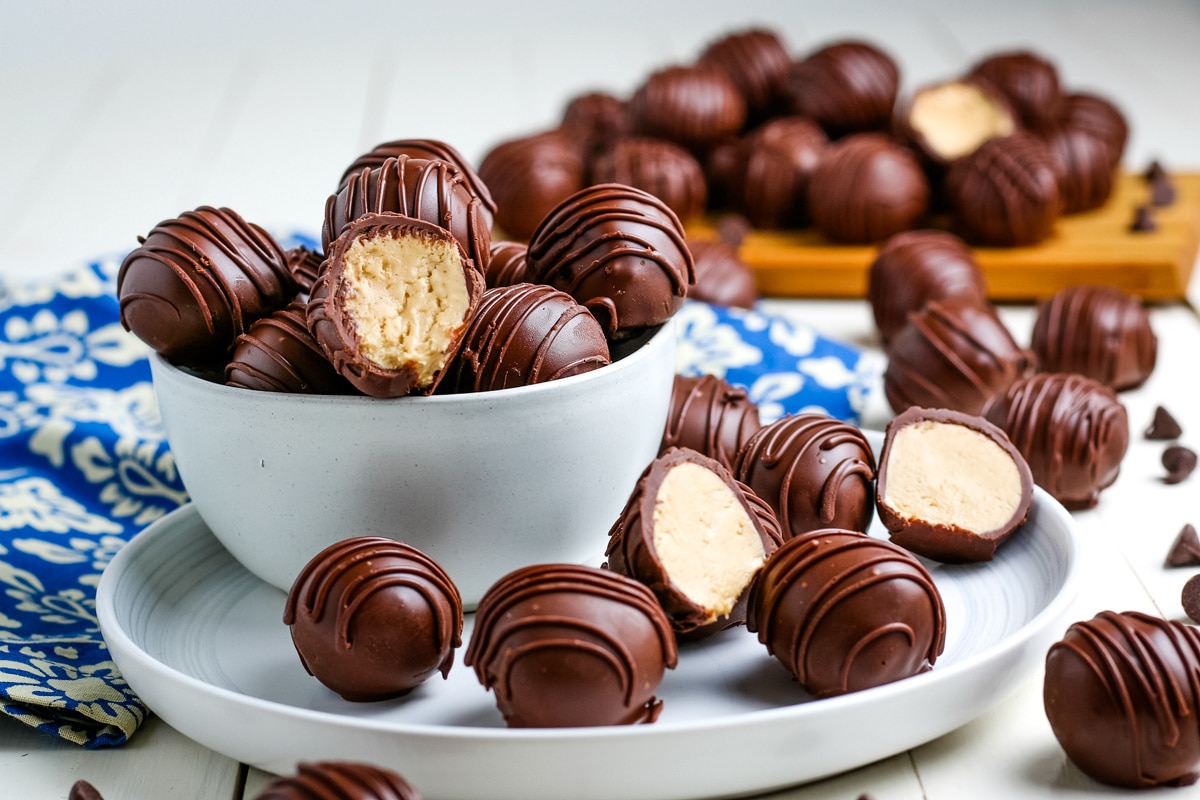
This Old Fashioned Peanut Butter Balls Recipe is a classic holiday favorite! These addictive candies are so sweet, delicious, and the perfect no-bake treat! You will love these easy peanut butter balls!
How To Make Old Fashioned Peanut Butter Balls:
I’m always looking for the perfect dessert to make over the holiday season, give to a friend, or try just for fun. Whatever the occasion, you can’t go wrong with these no-bake chocolate peanut butter balls! The smooth peanut butter mixture and the rich chocolaty coating combine for the best sweet snack!
Making these old fashioned peanut butter balls might seem difficult at first, but I promise this recipe is quick and simple! With few ingredients and little time in the kitchen, these will quickly become a favorite! The step-by-step recipe tutorial below will explain exactly how to make these no-bake peanut butter balls so that you will have no problem at all!
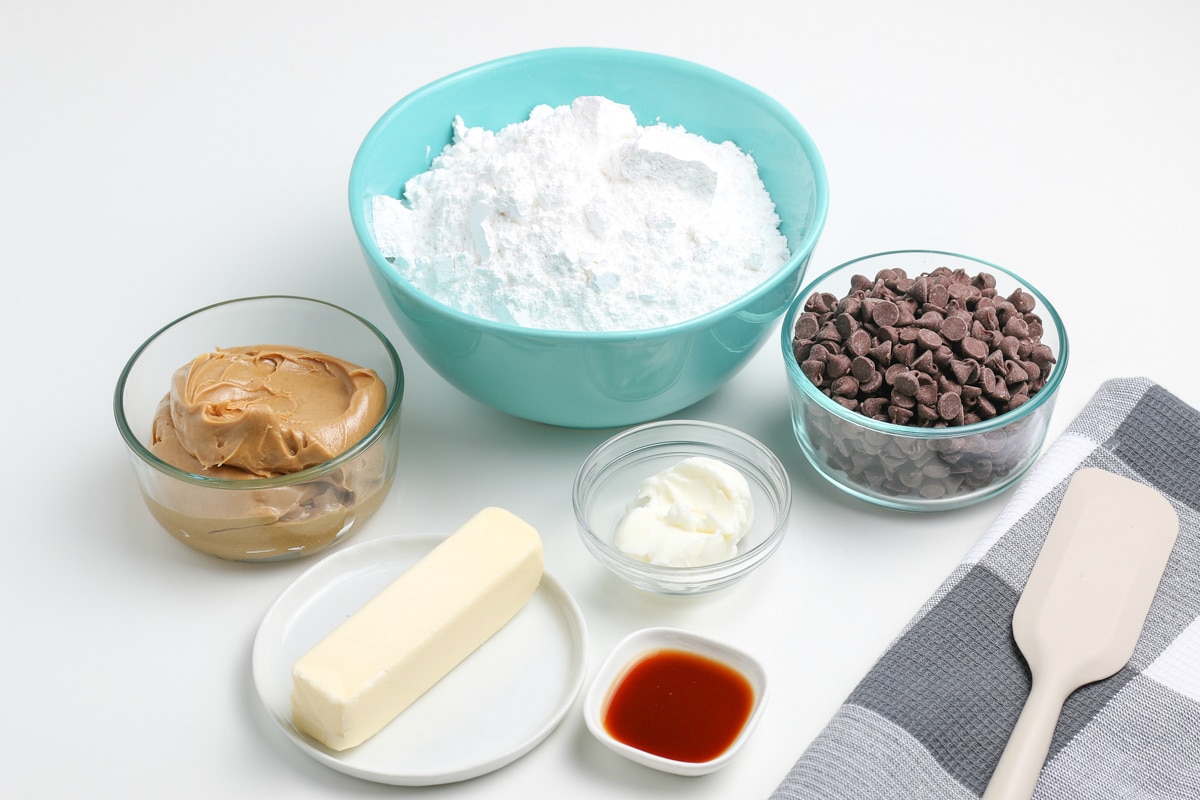
Ingredients You’ll Need:
Peanut Butter Balls
- creamy peanut butter- You can’t have peanut butter balls without peanut butter! Try to find no-stir peanut butter; this kind sets up much better than the others.
- butter- Peanut butter is naturally salty, so I prefer to use unsalted, but use whichever you prefer.
- vanilla extract- Enhances the flavor of the smooth peanut butter balls.
- powdered sugar- Serves as a binder to hold all the deliciousness together!
Coating
- milk chocolate chips- Chocolate provides a rich, decadent flavor to the peanut butter that takes this no-bake recipe over the top!
- vegetable shortening or coconut oil- Adds extra moisture to the chocolate coating to not be too thick and uneven.
Step 1: Line your baking sheets with parchment paper or wax paper and set out your ingredients. You want to have everything ready to go!
If you use wax paper, make sure to spray the surface with non-stick spray so that the peanut butter won’t stick.
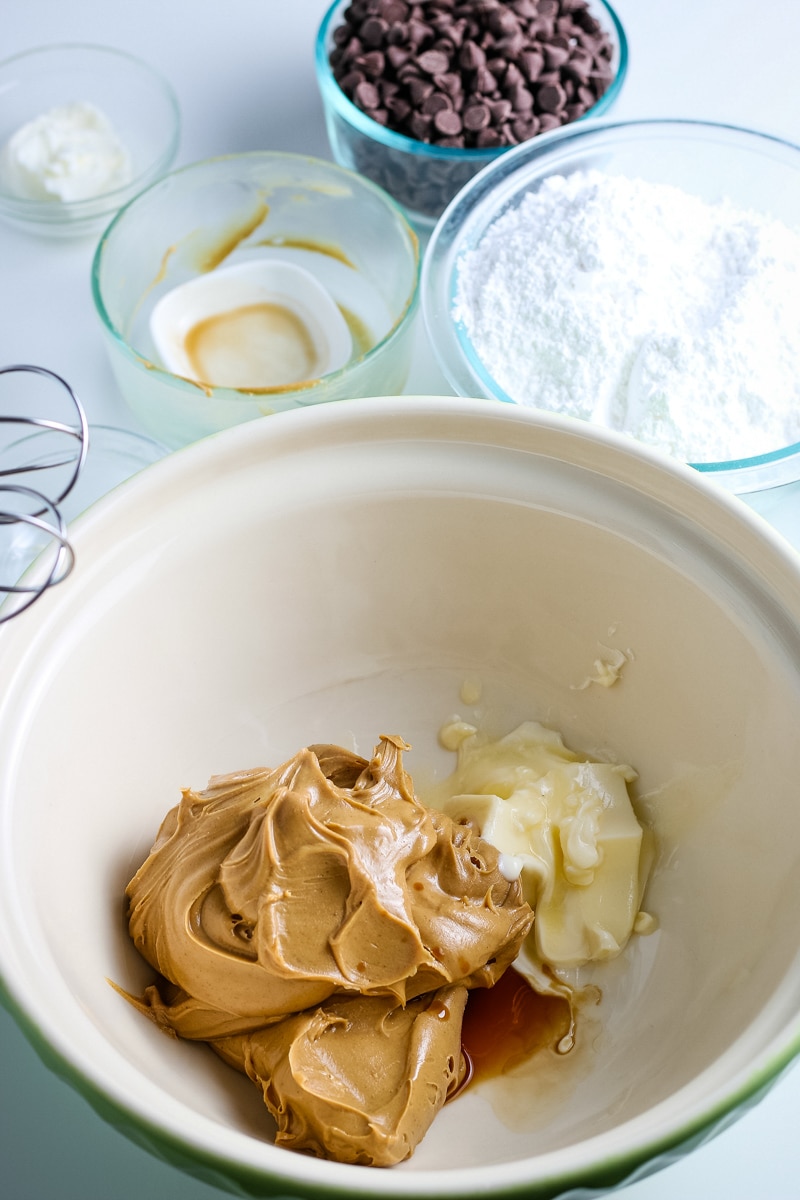
Step 2: In a large bowl, beat the peanut butter, butter, and vanilla extract beat until creamy.
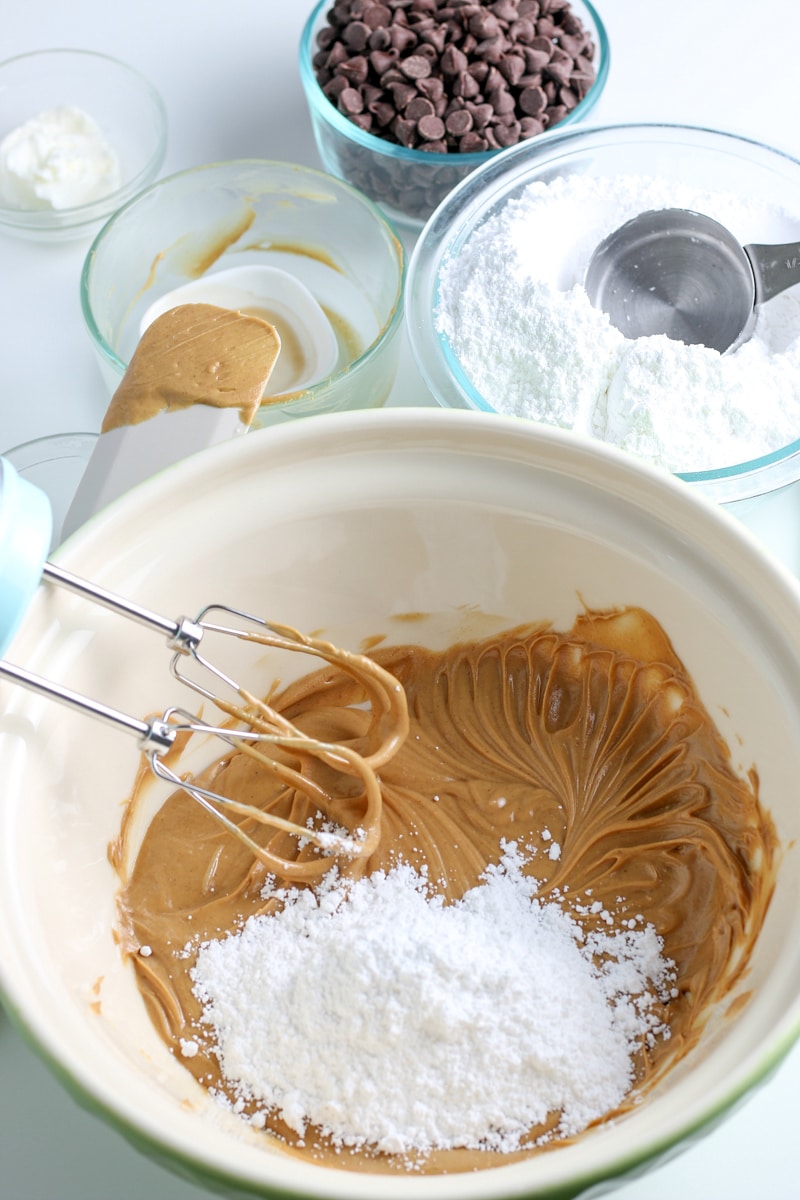
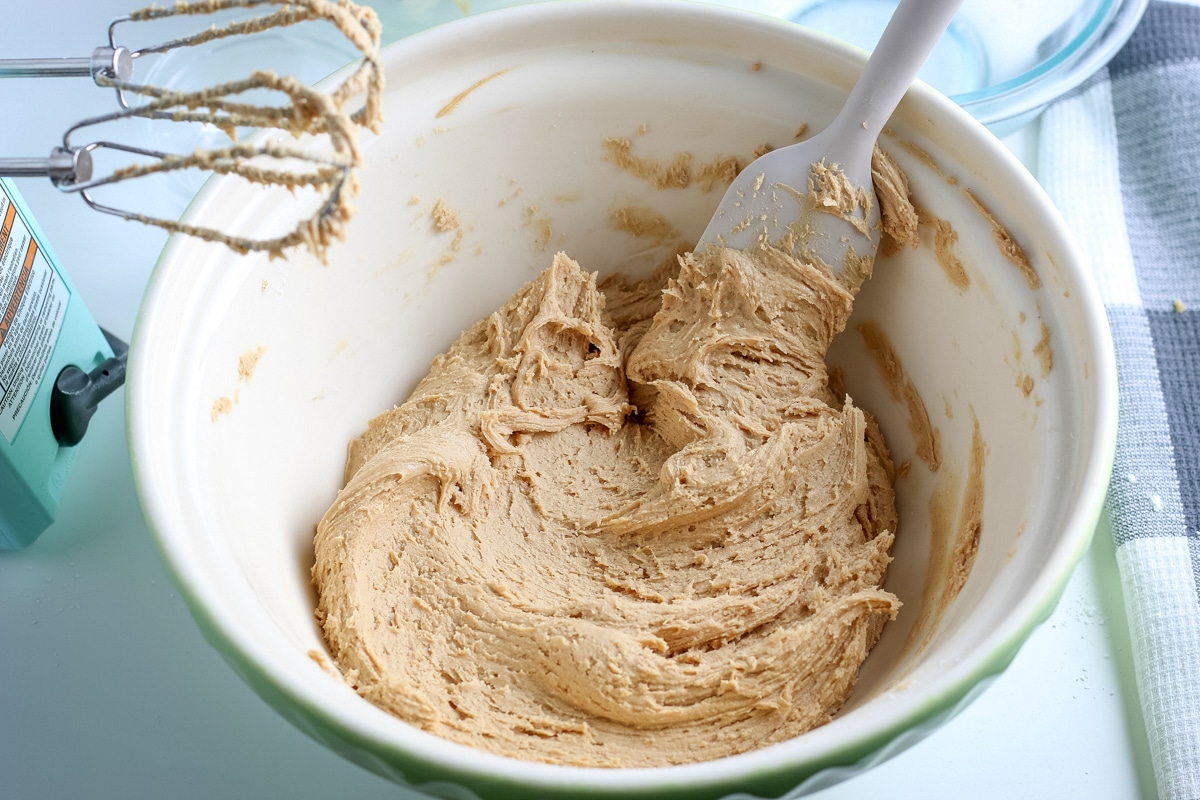
Step 3: Slowly add powdered sugar to the mixture, and stir together. Start with the mixer on low, gradually increasing the speed so that the powdered sugar does not spill everywhere.
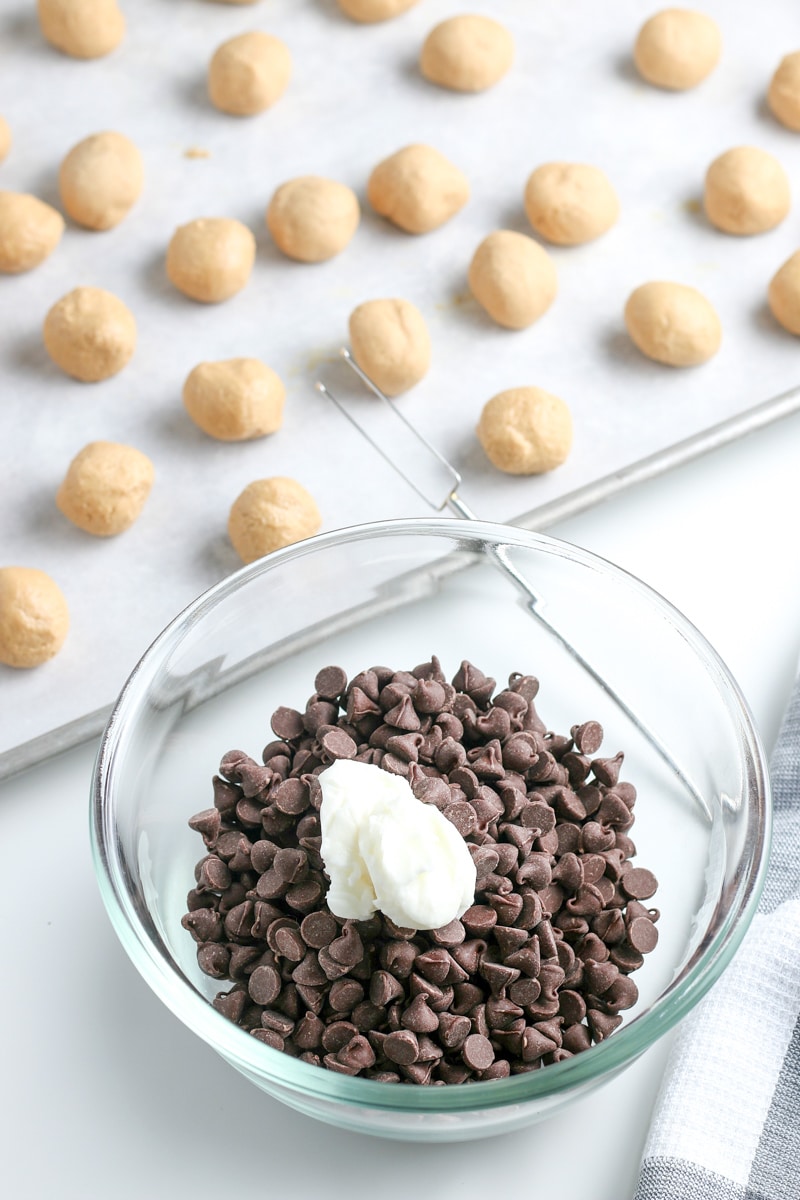
 Step 4: Once the peanut butter mixture is combined, use a cookie scooper to make peanut butter balls, then place them in the freezer for one hour.
Step 5: In a microwave-safe bowl, add chocolate and shortening, and place in the microwave for 1 minute and stir. Continue to microwave the chocolate mixtures for 10-15 second intervals, stirring after each one. Stop once the chocolate is mostly melted, and stir until smooth.
Tip: I prefer to use a glass bowl when microwaving chocolate because it is insulated, making it melt quicker, and it prevents scorching!
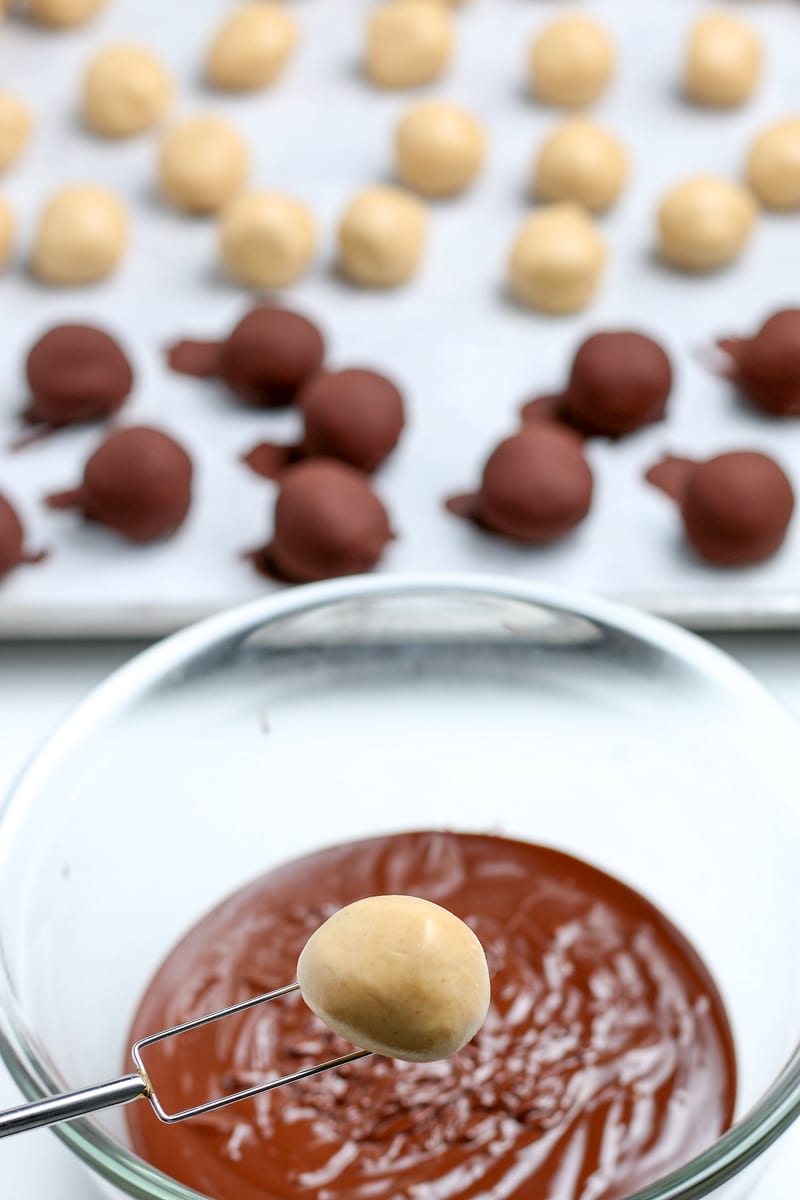
Step 6: Remove 3-4 peanut butter balls from the freezer at a time while leaving the rest in the freezer until ready to dip.
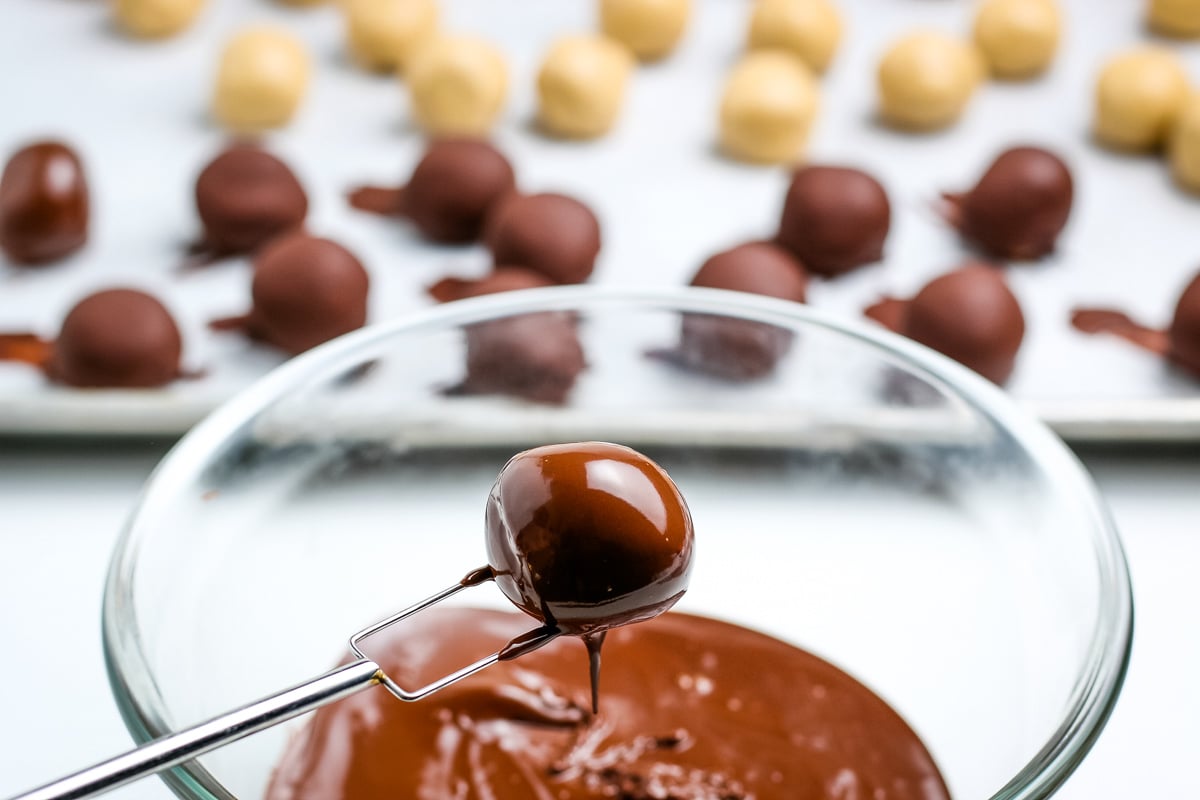
Step 7: Dip the balls into the melted chocolate with 2 forks or a chocolate dipping fork, shake off the excess chocolate, and place on a baking sheet before serving; place in the fridge for 30 minutes. Enjoy!
Can I Make The Peanut Butter Dough Ahead Of Time?
Of course, making desserts ahead of time, especially around the holidays, can be a huge time saver! To make it ahead of time, follow the recipe card’s instructions and freeze before adding the chocolate coating. Peanut butter balls will keep for 2 months before you have to coat and eat them.
Can I Melt The Chocolate With A Double Boiler?
Yes, to melt with a double boiler, place a saucepan with 1-2 inches of water on the stove, next place a heat-safe bowl over the pot, and add in chocolate and shortening. Turn the stove on low, medium heat and stir often until chocolate reaches dipping consistency.
My Chocolate IS Too Thick:
This is a super easy fix! If your chocolate is too thick after microwaving, simply add a tablespoon of vegetable oil into the melted chocolate and stir. Continue adding tablespoons of vegetable oil until the chocolate has reached dipping consistency.
My Chocolate Is Hardening While I’m Dipping The Balls:
When working with melted chocolate, you have to work fast; with that being said, there are a lot of peanut butter balls to dip, and the chocolate may begin to harden up. To fix this, all you have to do is microwave it for 10 seconds when it starts to become stiff.
How To Store Chocolate Covered Peanut Butter Balls:
First, allow the chocolate coating to set, then transfer the peanut butter balls into an airtight freezer-friendly container, and store in the fridge for up to 2 weeks.
To freeze, allow the peanut butter to set and transfer into an airtight container placing the balls in a layer on the bottom. Next, put parchment paper over the first layer as many times as you need. They can be kept in the freezer for 3 months.
To thaw, place in the fridge overnight, and they will be ready to eat the next day!
Variations To This Recipe:
- Different Kinds Of Chocolate- Instead of using milk chocolate chips, you could use semi-sweet, dark, white, or almond bark. Use whatever kind of chocolate is your favorite.
- Peanut Butter- If you don’t like smooth peanut butter, you could also try crunchy to add a little texture to this dessert!
- Toppings- You could try topping these peanut butter balls with a white chocolate drizzle, sea salt flakes, or even sprinkles!
Other Dessert Recipes:
- Chocolate Chip Cookies with Self-Rising Flour
- Cosmic Brownie Recipe
- Peanut Butter Chocolate Chip Bars
- Peanut Butter Stuffed Brownies
Old Fashioned Peanut Butter Balls:

Old Fashioned Peanut Butter Balls Covered with Chocolate
Ingredients
Peanut Butter Balls
- 1 1/2 cups creamy peanut butter
- 1/2 cup unsalted butter, softened (1 stick)
- 1/2 tsp vanilla extract
- 3 1/2 cups powdered sugar
Coating
- 2 cups milk chocolate chips (or semi-sweet chocolate chips)
- 2 tbsp vegetable shortening or coconut oil
Instructions
- Line baking sheets with parchment paper.
- In a large bowl, beat peanut butter, butter and vanilla extract until creamy. When choosing what kind of peanut butter you are going to use for this recipe try to find the no-stir kind. It already contain stabilizers, which will provide the best texture.
- Add powdered sugar stirring on low and gradually increasing speed until it is thoroughly mixed.
- Use a cookie scooper to shape into 1in balls and place on the parchment paper. Freeze for 1 hour.
- In a microwave safe bowl, add chocolate chips and shortening or vegetable oil.
- Heat for 1 minute, stir and continue heating for 10-15 seconds at a time, stirring after each heating and stop just before all chocolate is melted. Stir until completely melted.
- Remove 3-4 balls at a time from the freezer, leaving the others in the freezer until ready to dip.
- Dip balls into melted chocolate using two forks or a chocolate dipping fork , shake off excess and place on baking sheet.
- Place in refrigerator to set for at least 30 minutes.
- Enjoy!